Datalayer JupyterLab
Datalayer integrates seamlessly as a JupyterLab extension, allowing you to manage and interact with Runtimes directly from your familiar JupyterLab interface. The extension mirrors the functionality available on Datalayer SaaS once you log in.
To install the Datalayer extension, ensure you have python>=3.9 and pip installed on your machine. Then, run the following command in your terminal:
# Use --upgrade if you want to update an existing installation to the latest version.
pip install datalayer
For now, Datalayer only supports JupyterLab version < 4.1.
Ensure you run JupyterLab on http://localhost:8888.
Environment setup with conda
If you are using conda, you can create a new environment and install the required packages as follows. Note that conda and miniconda are interchangeable.
ENV_NAME=datalayer
miniconda create -y -n $ENV_NAME
miniconda activate $ENV_NAME
miniconda install -c conda-forge -y python=3.11 pip
pip install datalayer
Start JupyterLab as usual.
jupyter lab
You can provide traits to configure the Datalayer server as well as additional options used at runtime.
jupyter lab \
  --DatalayerExtensionApp.run_url="https://prod1.datalayer.run" \
  --DatalayerExtensionApp.white_label=False \
  --DatalayerExtensionApp.Launcher.category="GPU" \
  --DatalayerExtensionApp.Launcher.name="GPU Runtimes" \
  --DatalayerExtensionApp.Launcher.icon_svg_url="https://raw.githubusercontent.com/datalayer/icons/main/svg/data2/circle-white.svg" \
The traits can be provided in a configuration as well, see the Jupyter common directories and file locations.
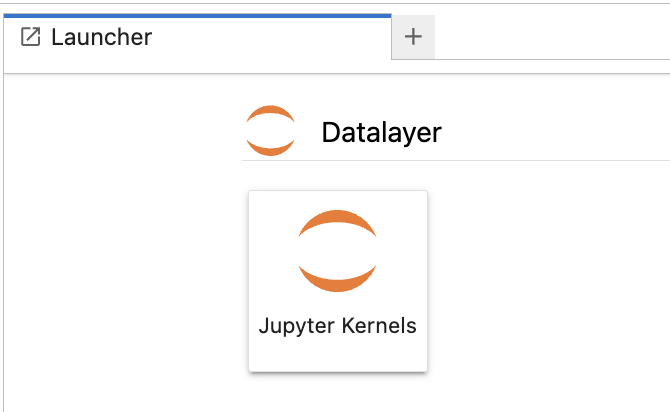
JupyterLab users are familiar accessing the feature via tiles as shown below.
Datalayer introduces a new section. Click on the Jupyter Kernels tile to access the Datalayer interface.